Monoprice Maker Select V2
Wed 05 April 2017 by Herbert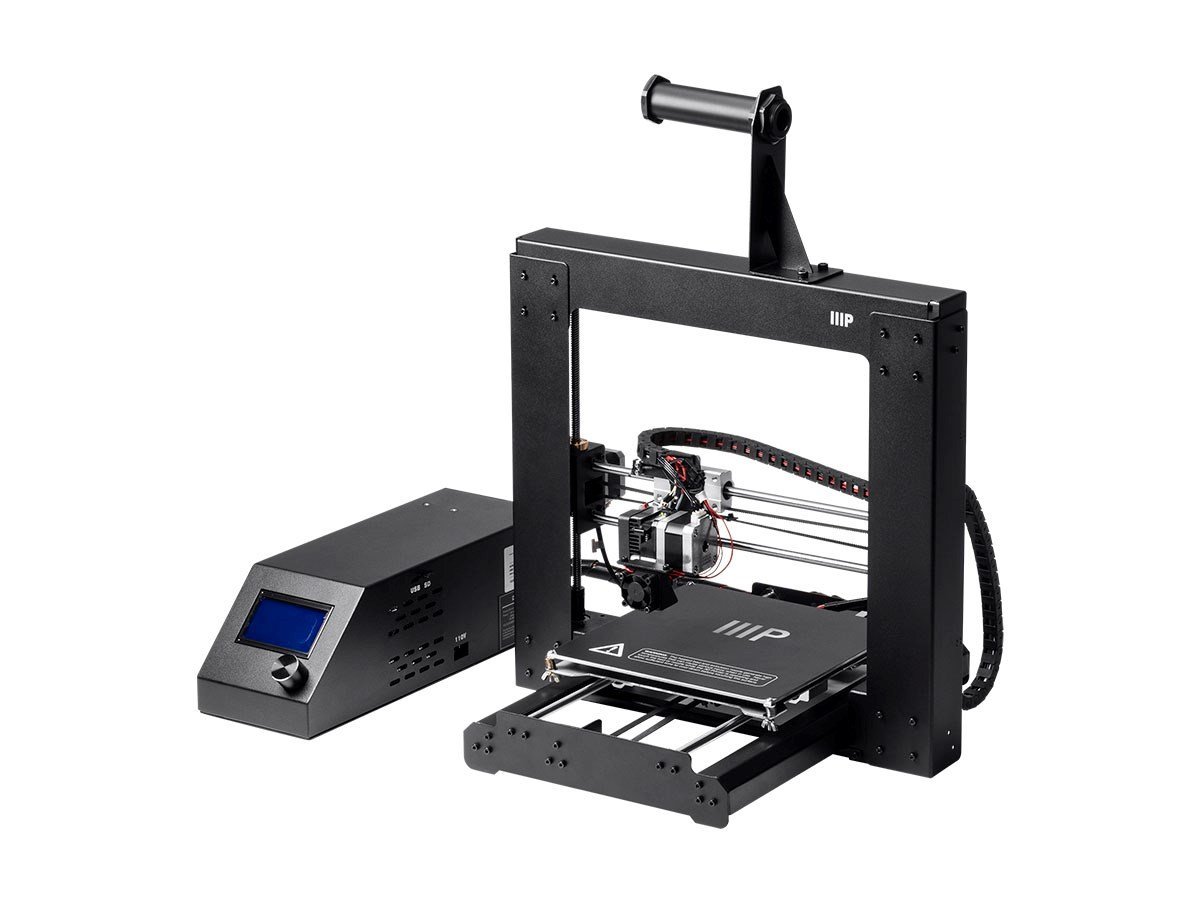
Buy Monoprice Maker Select at Amazon
3D Printers are just about where personal computers were 25 years ago. Many schools have them, but are really only used by specialty clubs, classroom demonstrations and a small handful of teachers and staff. Disruptive forces are emerging from DIY-ers, hobbyists and geeks that are bringing capabilities that were previously reserved for expensive, industrial scale machines owned by companies with deep pockets.
The Monoprice Maker Select make the perfect christmas gift for Herbert's 13-year-old. One of those "gifts" that we can enjoy together, but the father enjoys as much as the son. This Monoprice midrange is a rebadged and resold version of the Wan Hao i3 duplicator.
This printer is based on the PRUSA i3 mk2 design. These designs are just behind the bleeding edge of evolution of the Reprap DIY 3D printer line. The previous 2 sentences probably sound like gibberish to many readers. What this means is that for 3D printers, these are "mainstream." They have been designed, built and improved by hobbyists around the globe and share the same strengths weaknesses and oftentimes parts. This implicit "standardization" means it's relatively easy to use Google, Youtube, Facebook and other sites to find information, samples, tips and even assistance from other owners. For myself, it also means this printer is yet another example of the influence of community and sharing on the advancement of technology, but more on that later.
Bottomline: In the US, this is a solid printer, often at a great price, from a reputable distributor that is a great starting point for people looking to experience 3D printing.
While some readers might enjoy playing with a 3D printer, it's often asked if one can do anything practical with it. I'm excited to share my first practical print within 3 weeks of the unpacking of our printer.
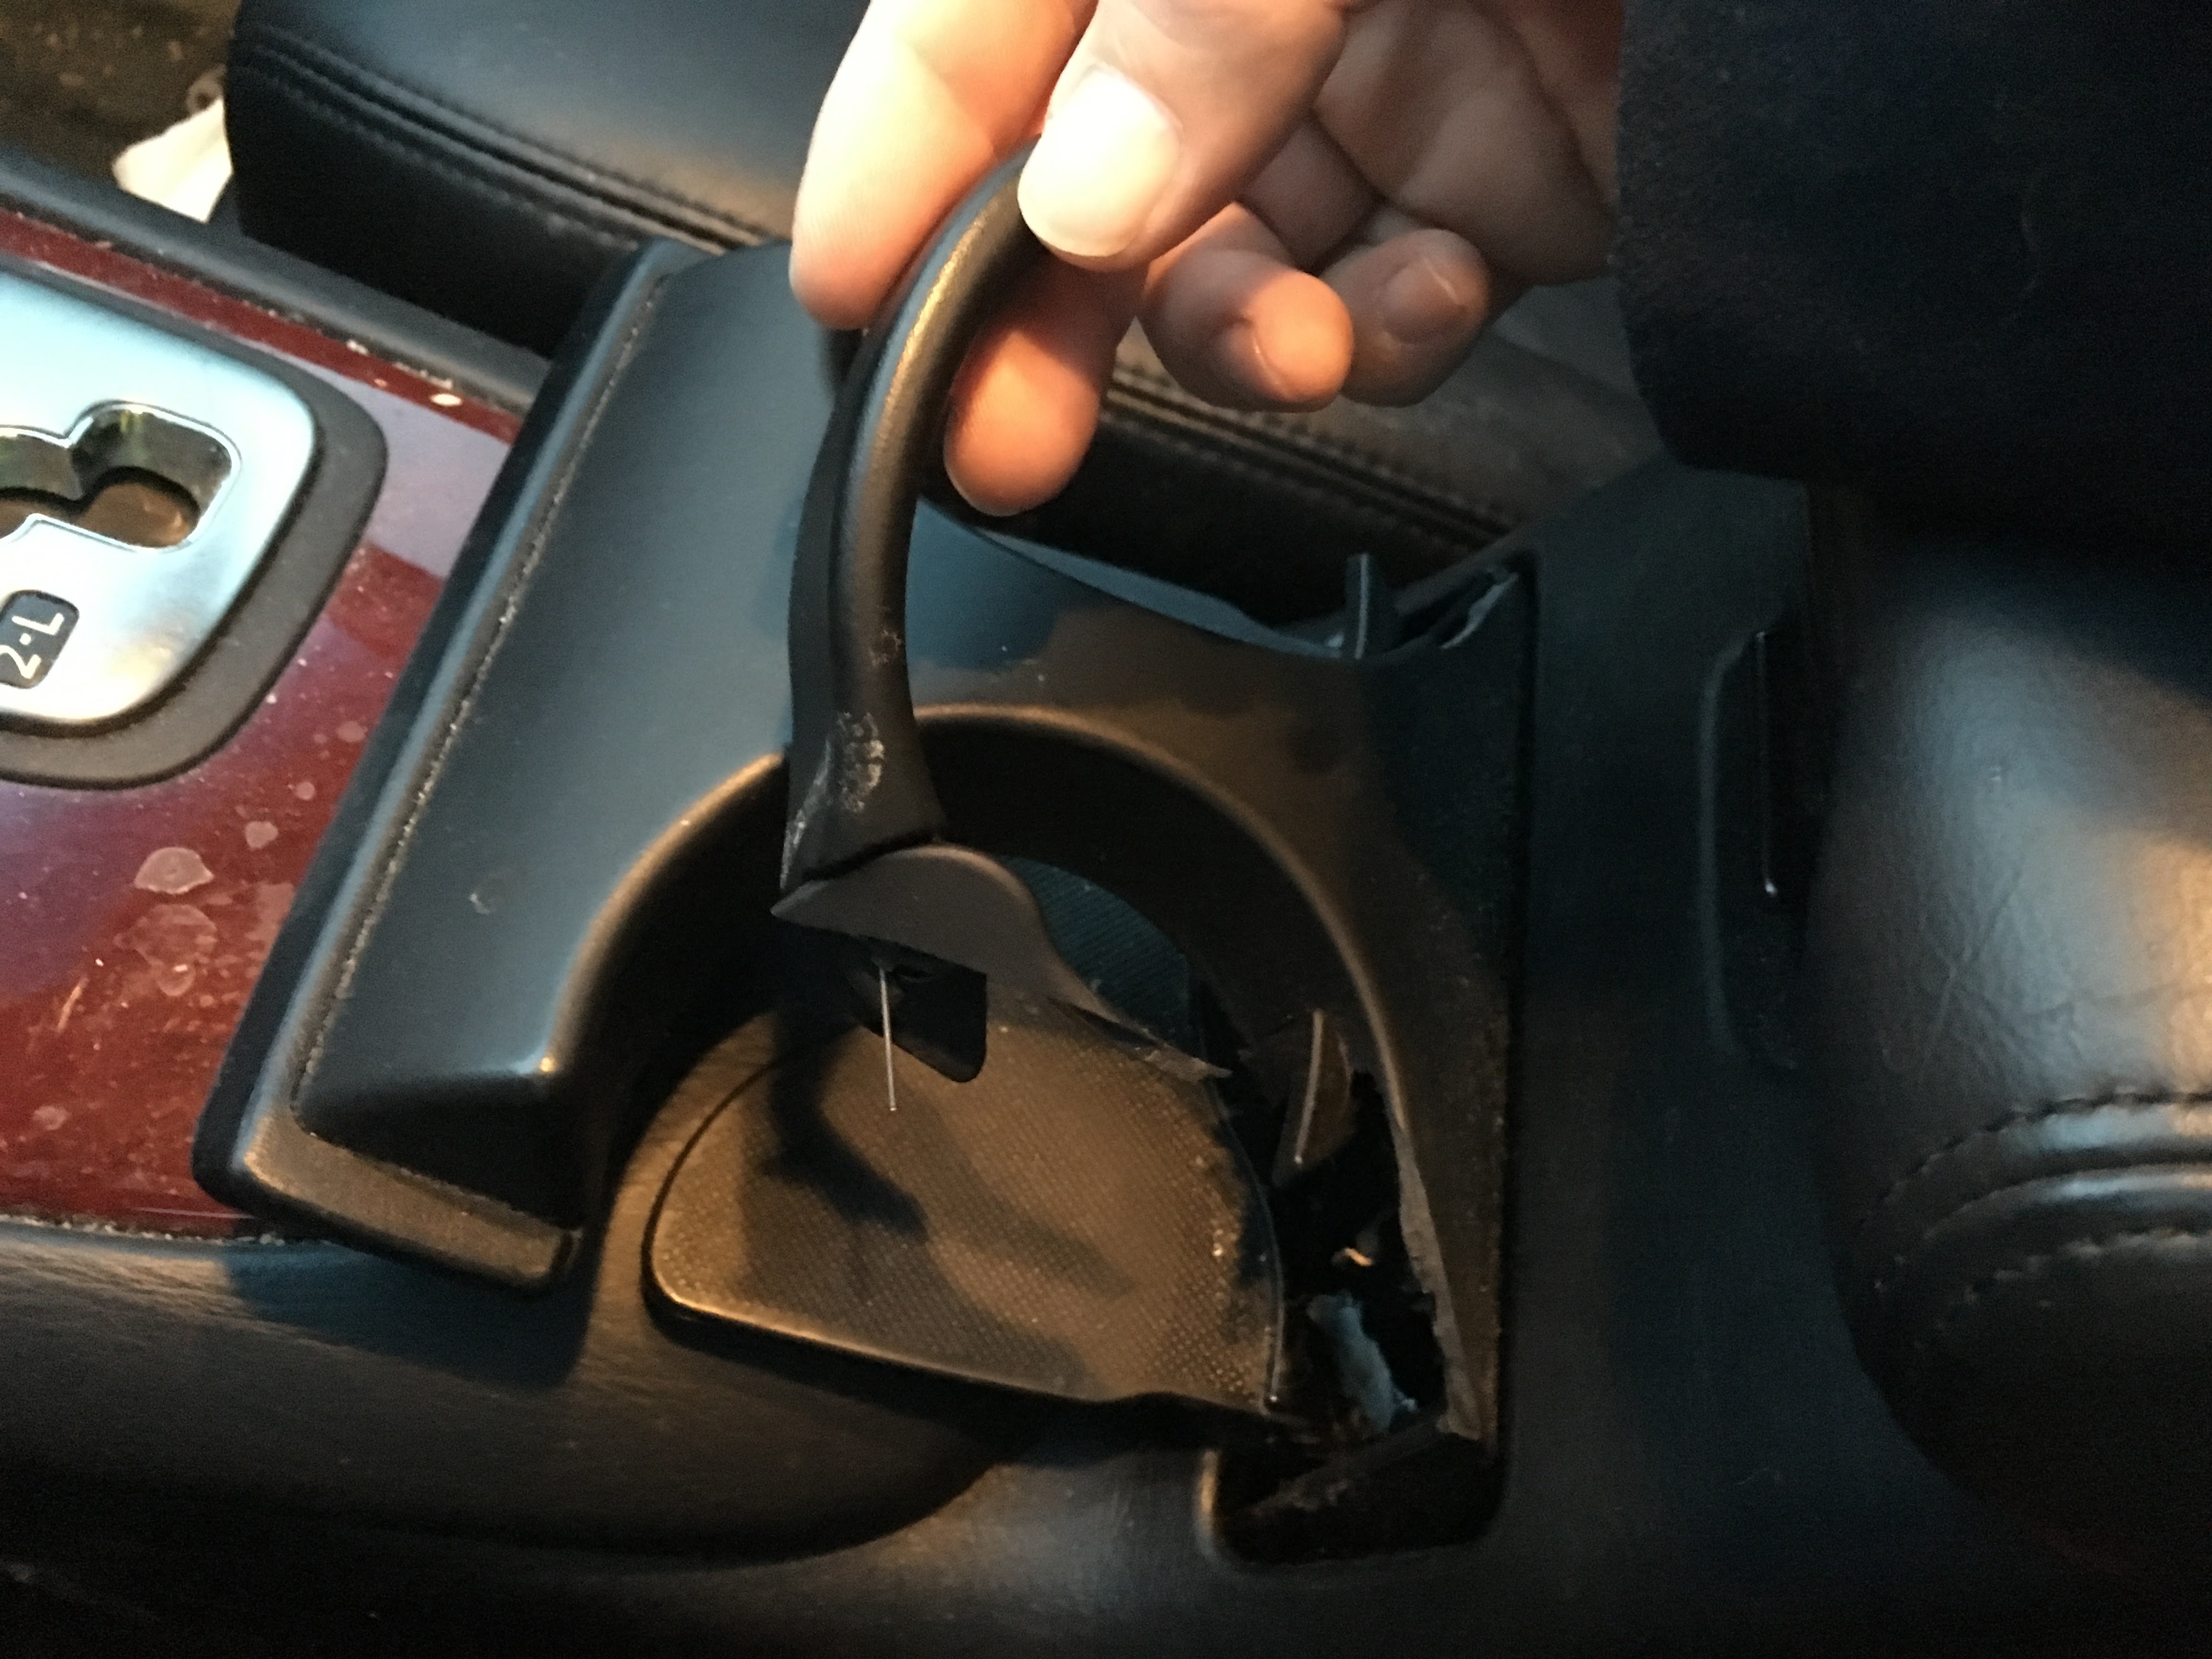
Herbert's car is over 12 years old and, frankly, has held up pretty well. It's winter here in New England, and it's filthy, but runs great and can be expected to last several more years. That said, amongst the scratches, dings and dirt, the retractable arms on the cup holder have failed on both sides. A cup of coffee is often a necessary companion on an early morning drive, and I found my first potential problem to fix.
While thinking about solving the problem, I learned that the standard cup holder diameter in the US is 72mm and started to see if I could design a piece of plastic I could use to restore cup holding capability to the car.
Enter FreeCad, an open-source, free software CAD (computer aided design) program. Think of this application as a paint program for 3-dimensional objects. Instead of drawing with circles, rectangles, lines, you lay out cubes, cylinders, spheres and more. To describe my skills as amateur is overstating them.
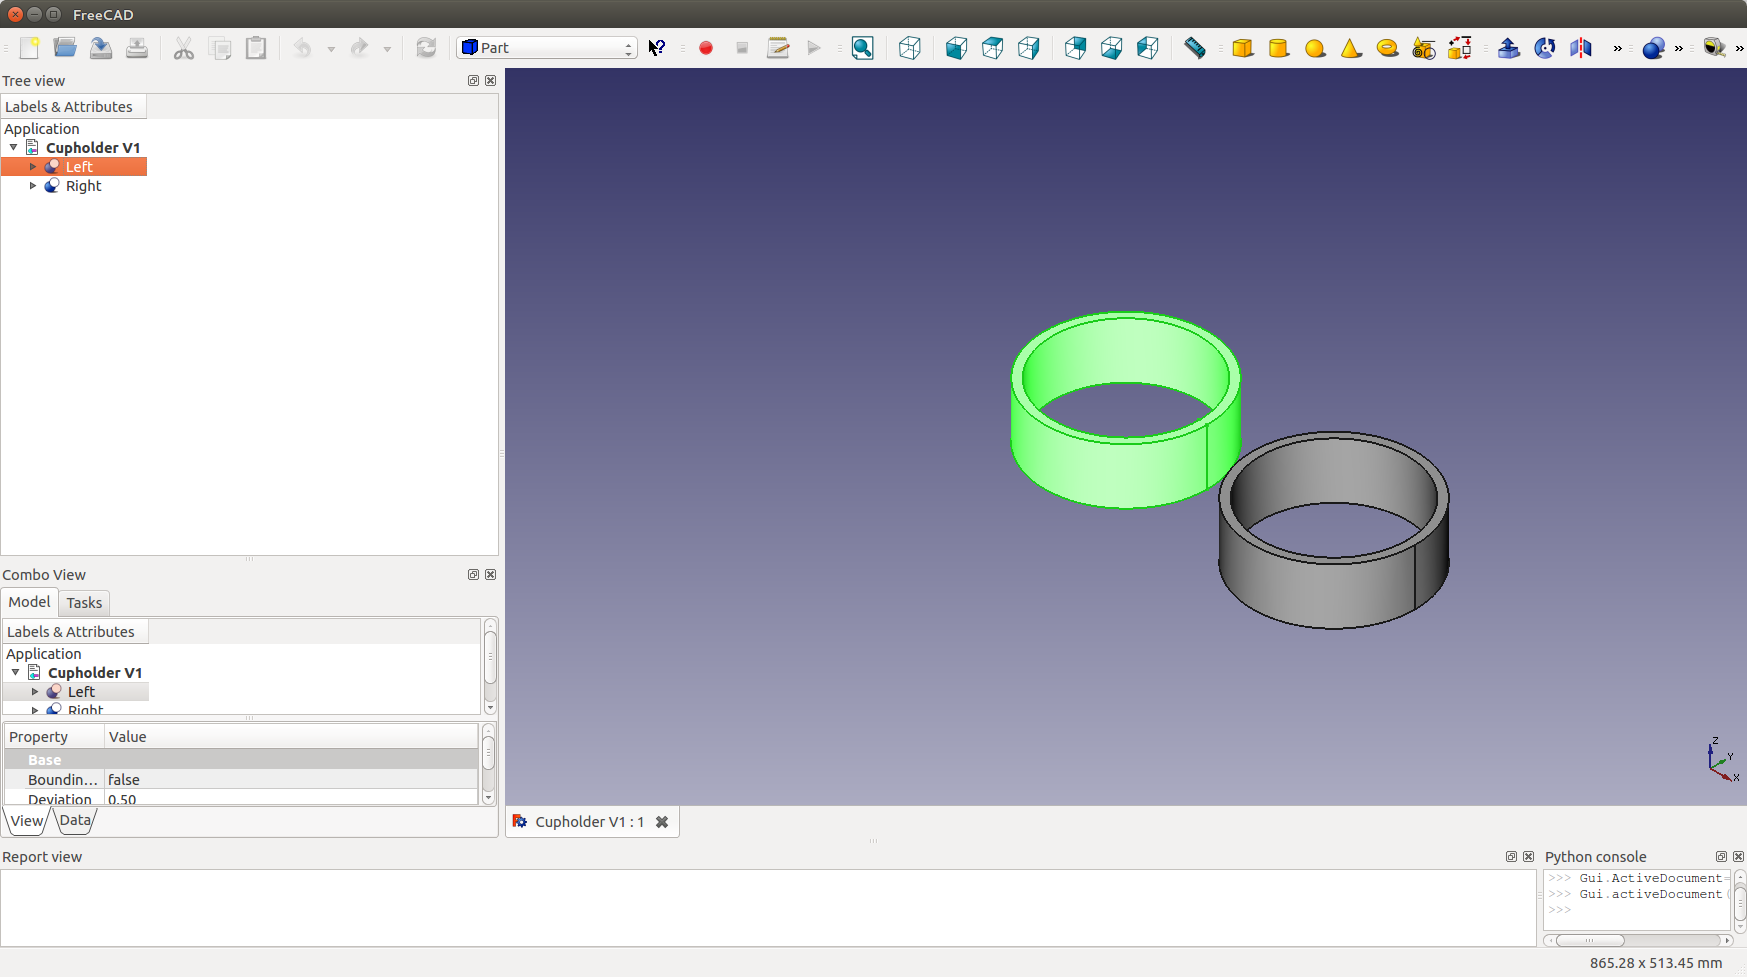
With the FreeCAD part workbench, you create 3D models by using primitives like cylinders and boxes and combining them by adding material and removing material. I started with a couple of cylinders. These are actually 4 cylinders, 2 outer cylinders with 2 inner cylinders removing material.
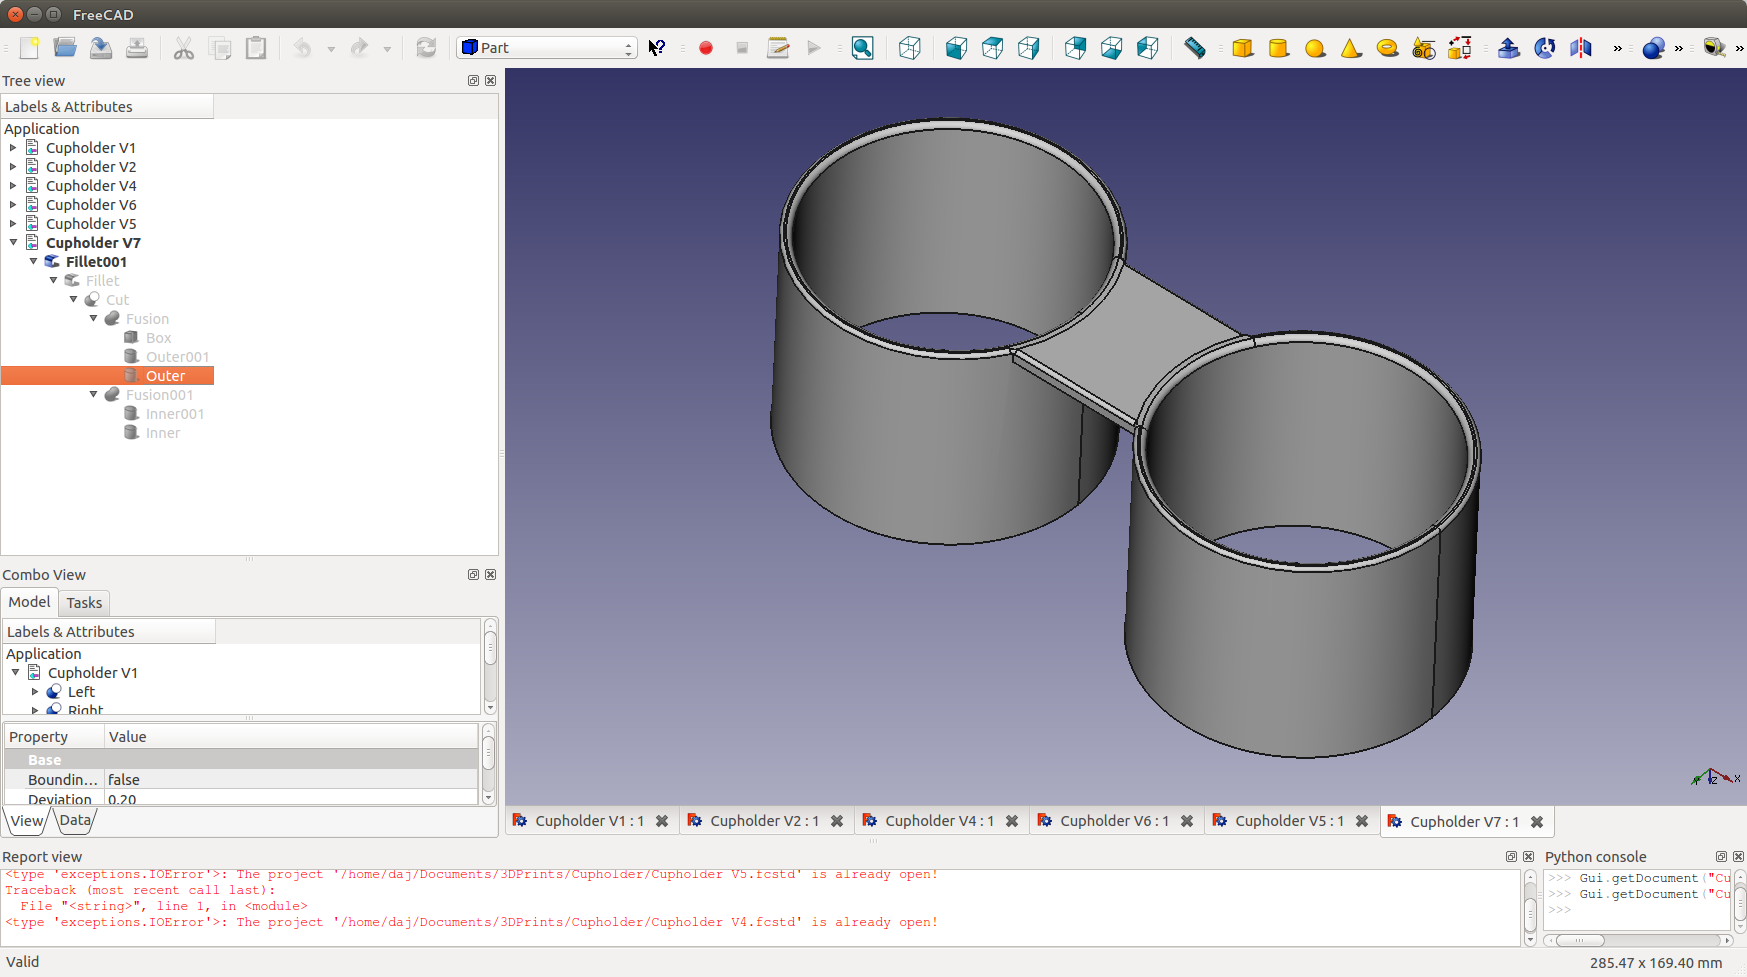
By adding in a thin box and some more combining and substracting, a cross piece can be added. Fortunately FreeCAD allows the user to specify sizes and positions by measurement. Measuring the existing cup holder's depth and width was a little awkward. I tried to measure to the nearest half millimeter. A [Digital Caliper][http://amzn.to/2jEkf4w] definitely helps accomplish that.
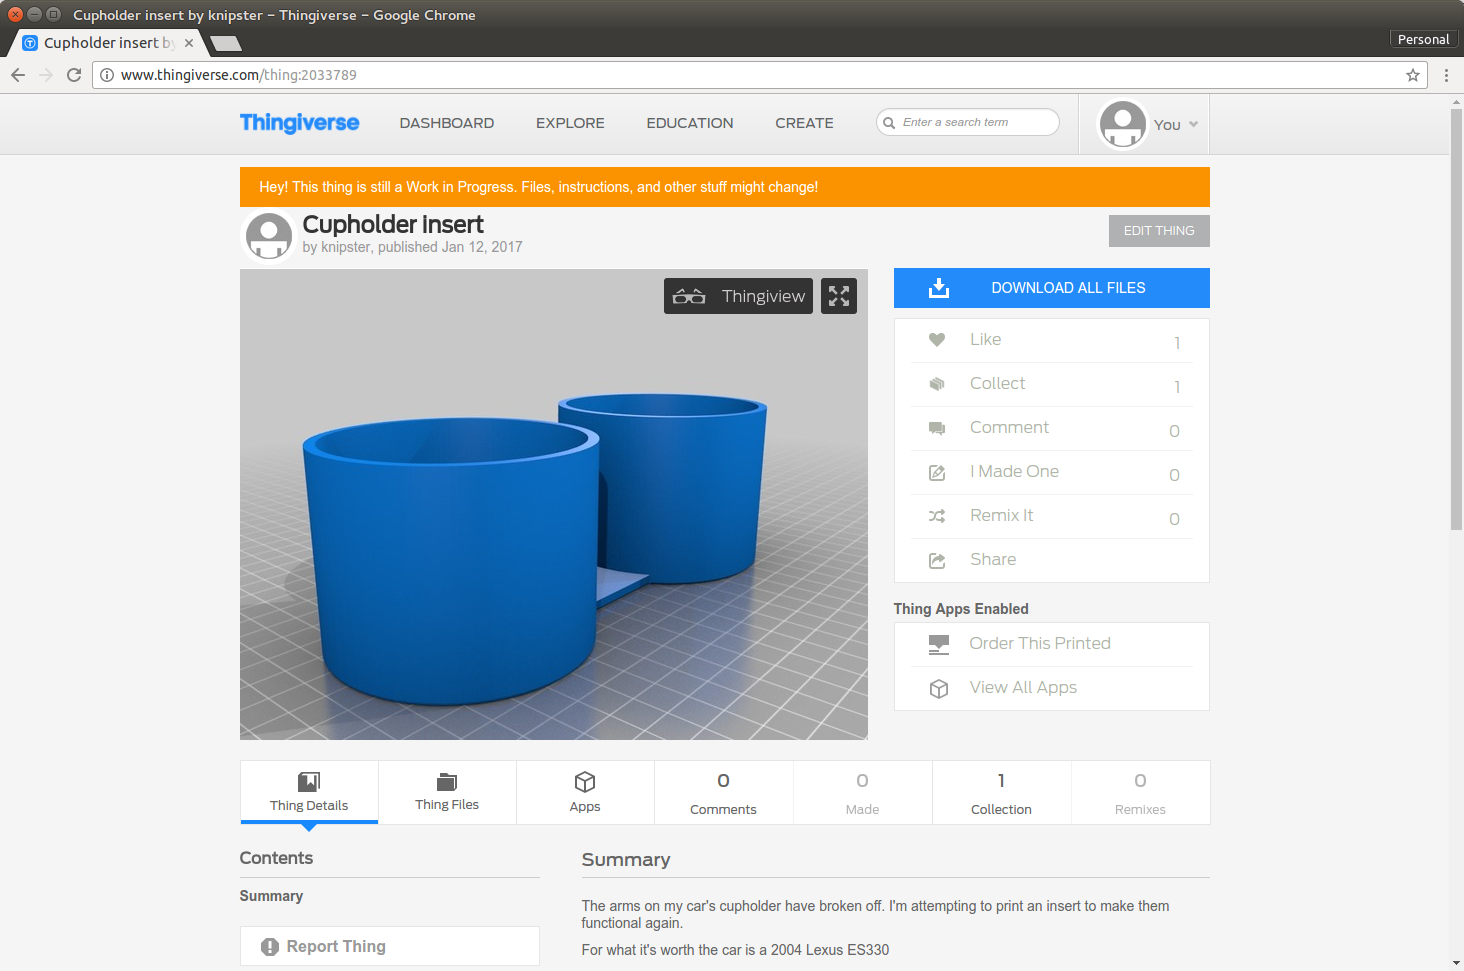
So, both the design of the printer and FreeCAD are opensource and the result of sharing, improving, resharing and so on. I felt compelled to share my first design even before I completed my first print. I'm pretty excited that the design has already been downloaded a few times....
Truth be told, the print wasn't perfect the first time. One the first try, I printed the bottom layers one time, and the piece began to peel up from the build platform. This wasn't necessarily a major problem given the shape. But I was going to use a fair amount of filament and had several hours still to go, so I stopped the print and checked it out. I decide to increase the diameter of the 2 cylinders by 1mm and kept the bridge the same width.
Also, I realized before going to bed that I was going to run out of filament, so I attempted a mid-print filament swap for the first time. This was not a trivial task, but with a couple of misteps, my son and I figured it out. Honestly, the results are better than I expected.
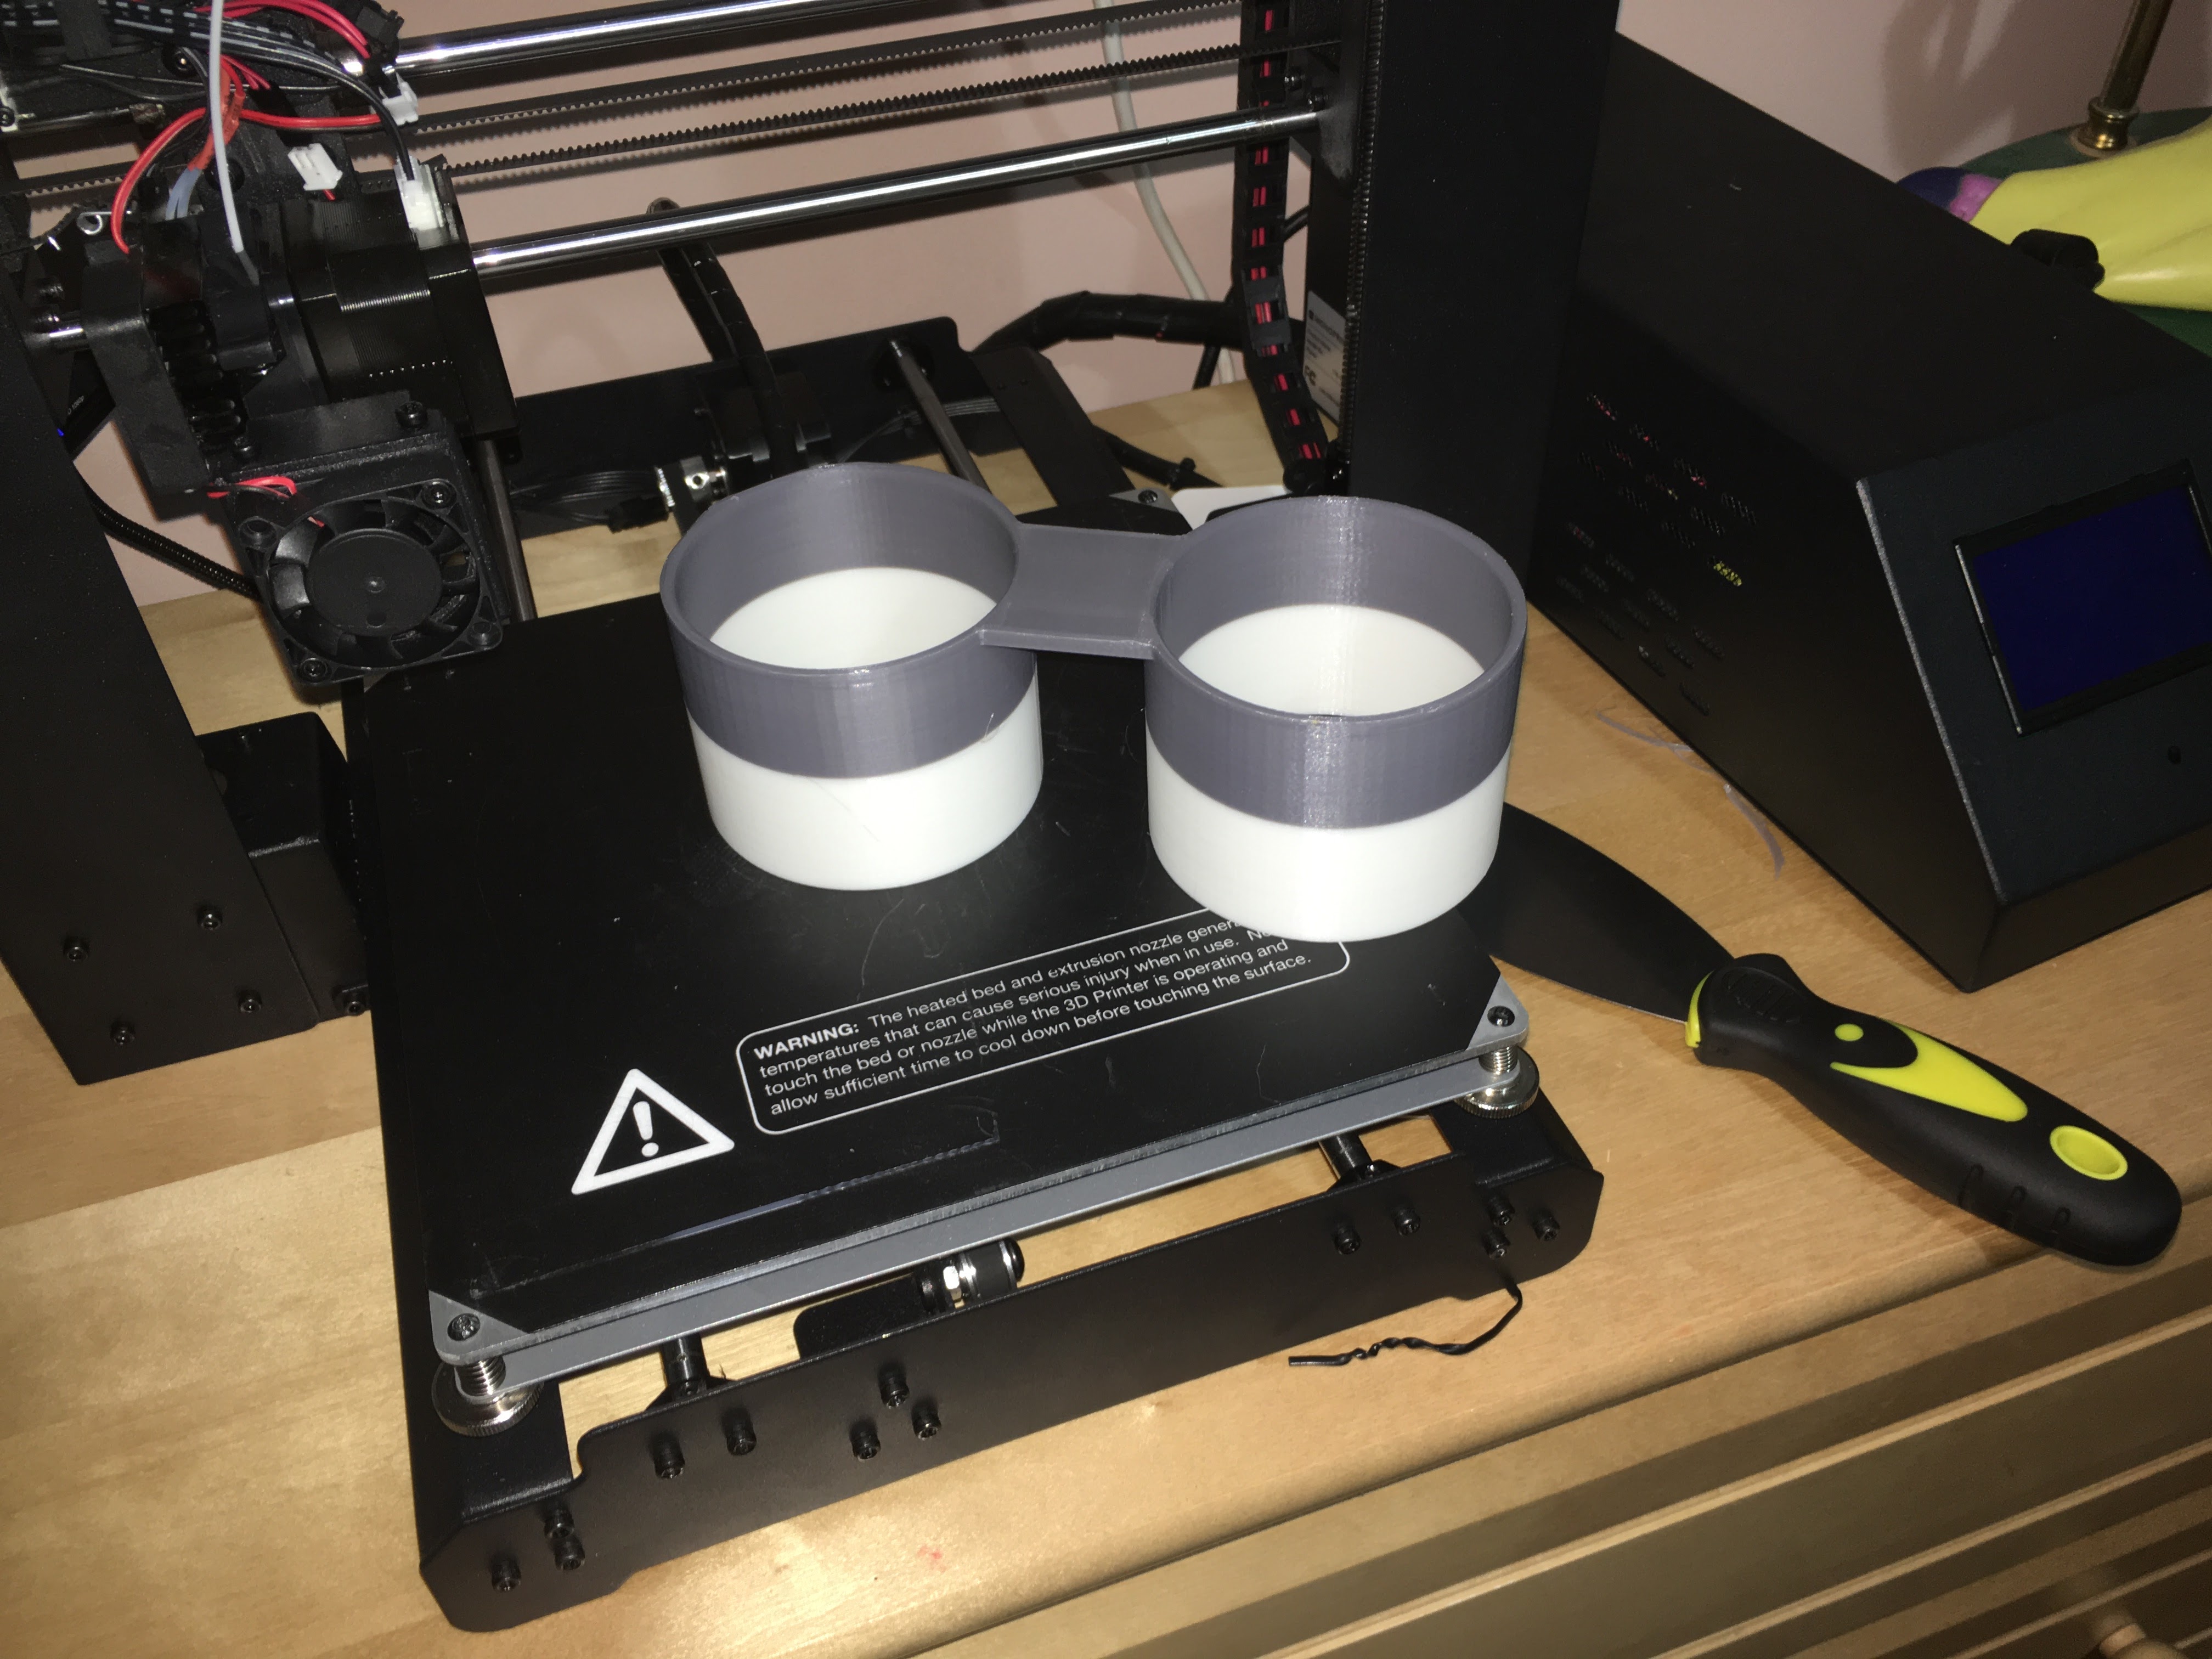
Funny thing with designs for printing. Since these machines work like a cake frosting bag, squirting goop in layers front side to side, front and back, it's important to print remembering that gravity exists and the goop is supported. So my design was intentionally upside down from how it would be installed, with the bridge on the build platform.
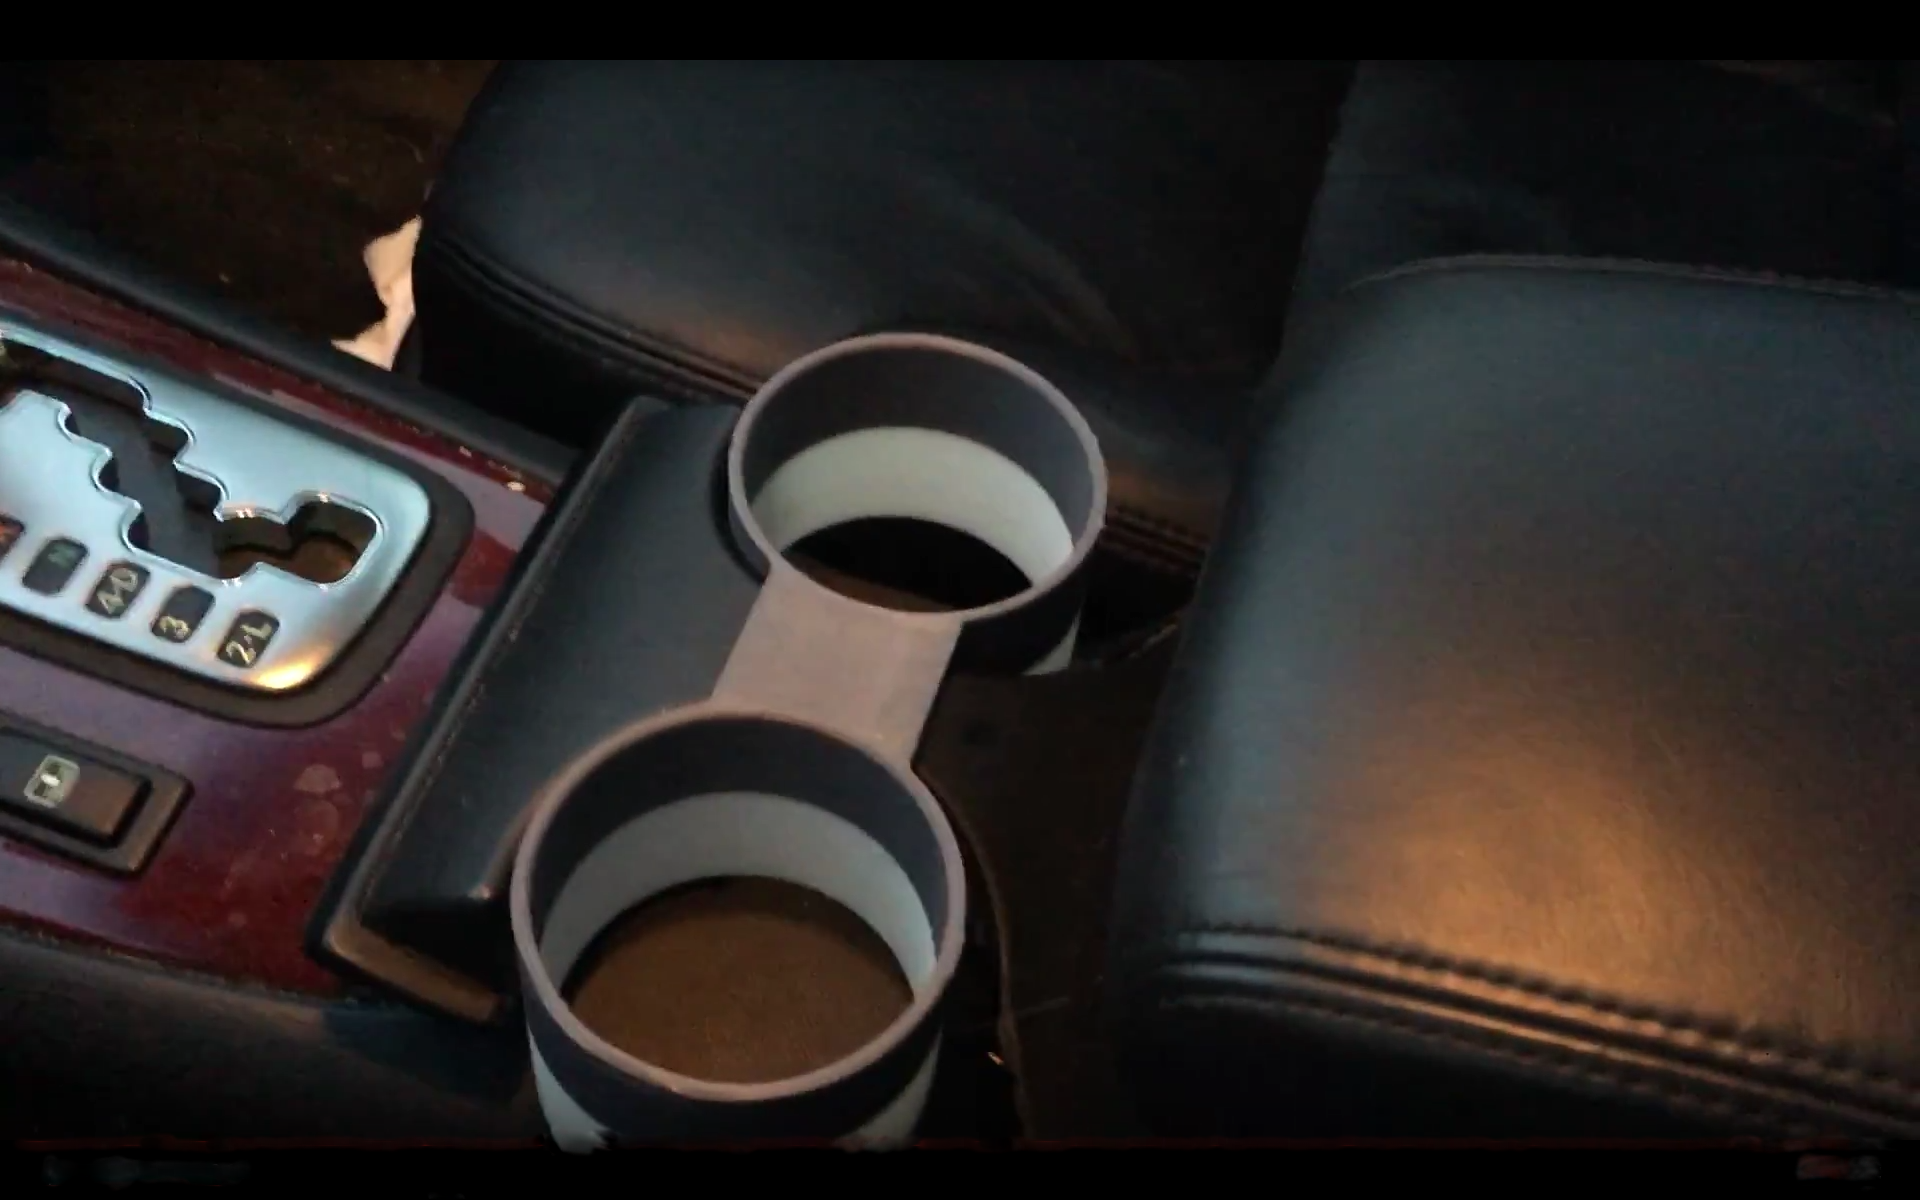
So, after approximately 8 hours of printing (I probably was too conservative on the printer settings), we used this morning's drive to school to test the fit. I'm quite surprised how precisely it fits, both in terms of depth (height of the bridge) and width of the bridge.
From concept to design to manufactured and installed within 24 hours at home with open source software, open source printer design, and under $2.00 worth of plastic, I'm thrilled.